After nearly a year of hard work I finally released EasyBeats 3 Pro Drum Machine last week on the AppStore. A week before releasing the app I put a promo video of it up on youtube. It had the desired effect, there was a lot of excitement generated about the app, but there was also a good number of questions asked about the making of the video.
I’ll do my best to cover the process here, but first if you haven’t actually seen the video you should probably do so here, I’ll wait below.
Ok so how did I make it?
TLDR:
I walked around Higashi-Shinjuku station carrying a GoPro on a monopod looking incredibly shady videoing myself play the same song a hundred times over. Mixed it together using software I had never really used on a computer that barely made it through the process.
Long Version
I’m generally pretty terrible at marketing. Like a lot of devs I leave it last and don’t dedicate any where near enough time towards it. This is definitely something I’m trying to improve.
One thing I always do though is make promotional/tutorial videos. My initial thought for a teaser video for EB3 was a setup similar to (find and add link to small budget lightbox promo video setup here), with a well choreographed tutorial that covered all the apps key features.
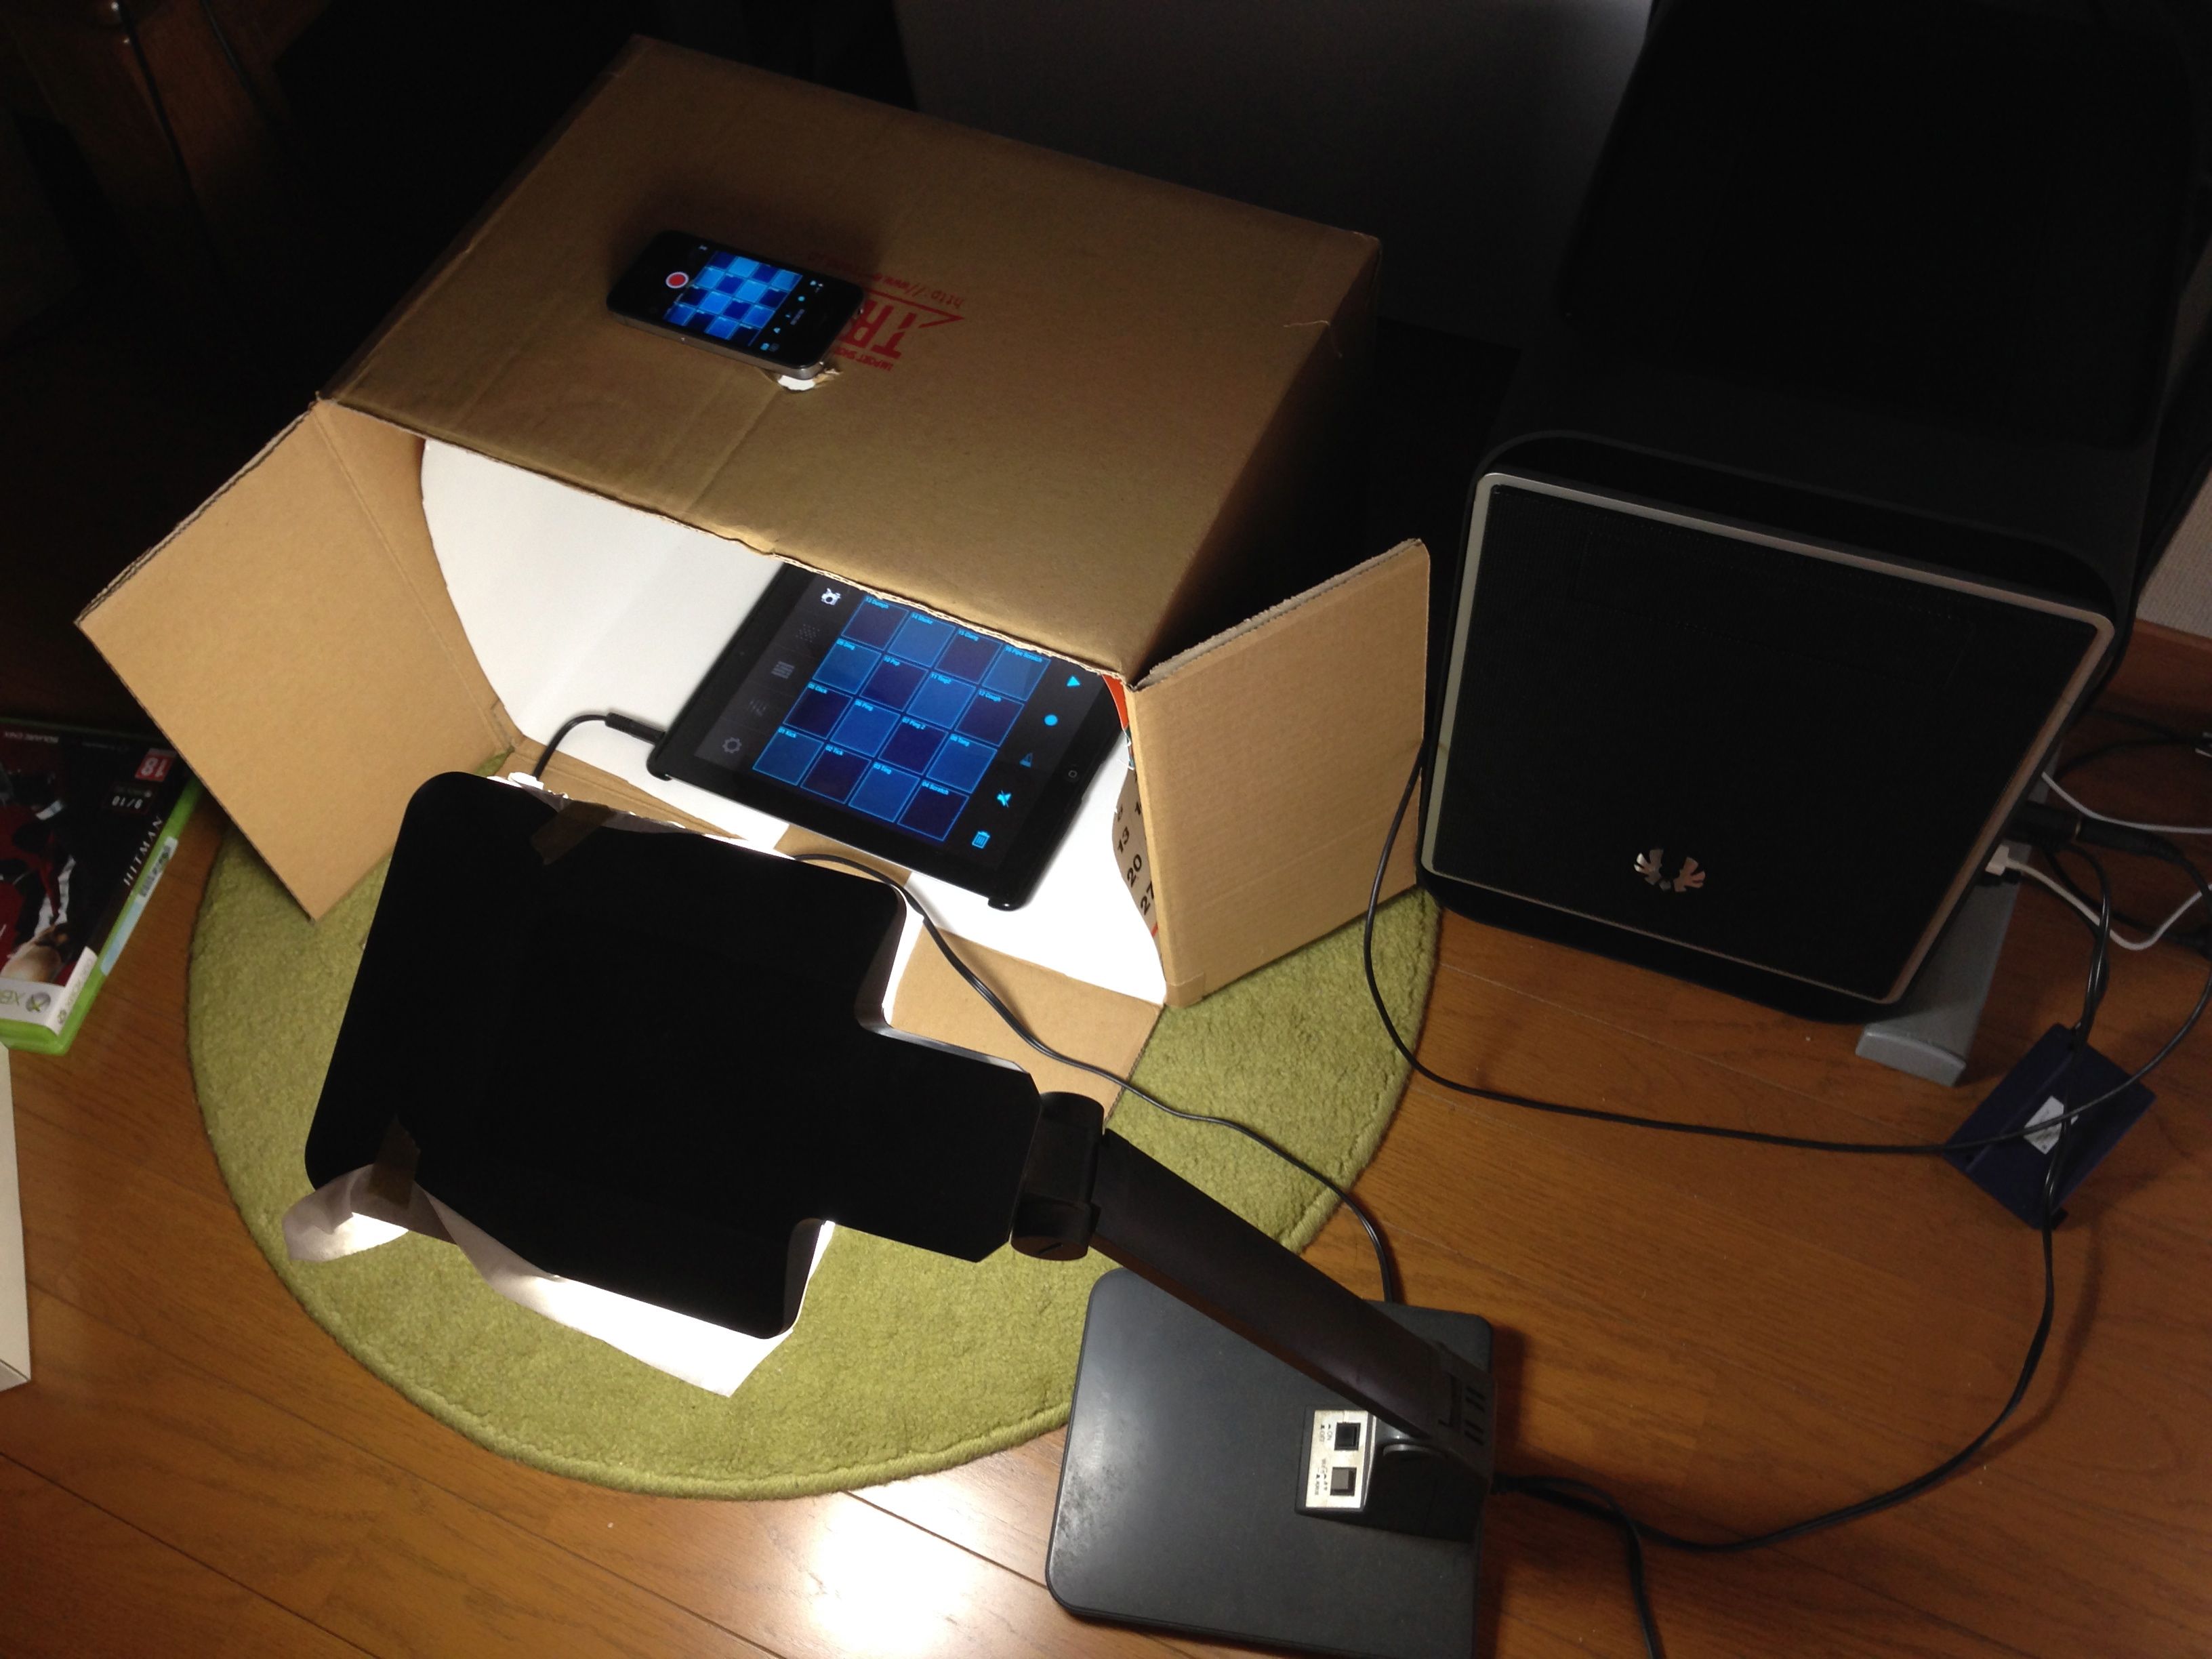 My tutorial video budget recording center.
I started on this with good results but quickly realized that although great for teaching users exactly how to do certain tasks it didn’t really convey just how easy it was to create something great in those small fractions of free time people have in real situations.
A new plan
My next idea was I would don my snowboarding helmet with my GoPro Hero 3 attached, walk around my neighborhood and make a beat. With the helmet I could position the camera correctly then have two hands completely free to work the app. With this setup I could show users just how easy it was to create a beat on their walk to the train, idle time etc…
After a small bit of experimentation with this I found two major problems.
- The position of the camera on top of my helmet was too high and felt strangely impersonal for an app demonstration. This resulted in me having to hold the device up much higher than was comfortable and I often would accidentally move out of shot.
- I looked pretty scary and perhaps mentally unstable walking around wearing a black snowboarding helmet. I wanted to shoot the video walking through my local subway station and possibly on a couple of trains. This would be difficult or at the very least incredibly awkward.
Ok so helmet cam was out, so again after a bunch of experimenting around the apartment I found that I could get decent results mounting the camera on my monopod, then tucking said monopod under my armpit.
Unusable Footage
So off I set walking around Higashi Shinjuku station filming myself creating different beats from scratch (the beat I ended up using I actually made on my second take). I still looked ridiculous with the camera pole tucked under my arm but much less so than before. I was out and about for about an hour and a half before I returned home to check the results.
This highlighted one of the main problems with using a GoPro for app promo videos. Although it shoots fantastic 2.7K video (What I filmed in), you have no real idea of the results until you plug it into your computer. When I got back I found that most of my footage was unusable, due to reflections or general positioning of the shot. To be fair this is not what the GoPro is designed for, and outdoor action shooting does not require this kind of feedback.
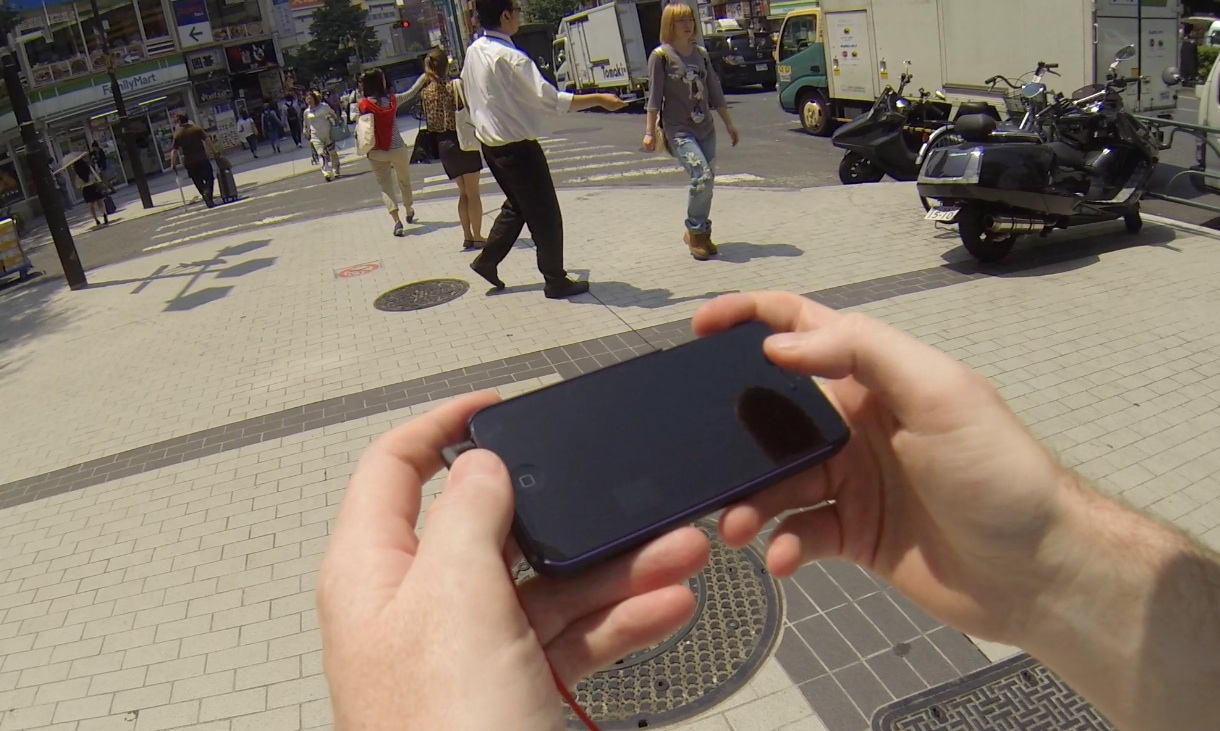 A lot of footage looked like this.
Another problem I experienced as filming novice was fluorescent flicker. Any time you shoot video under fluorescent lights you might have to deal with your footage flickering. This is impossible to remove afterwards and without a viewfinder on a GoPro you won’t know till later. I ended up having to trash a significant number of shots due to this.
Boring
A bigger concern however was that although a one take shot of beat being created was informative, it still lacked the excitement a promo video needs. The video needed multiple cuts and camera angles to stay interesting. Initially I tried filming from another angle with a spare iPhone but it was near impossible to walk while doing this by myself.
The lack of good footage I got on the first outing actually caused me to find the solution. I didn’t have any shots long enough so I combined two completely separate shots in Final Cut Pro to at least have something to build on. I found that the cut between these two shots was coincidentally on a drum hit, this definitely made it more interesting, but the problem was the clips weren’t really related. As such I decided I would again head out and record myself making the same beat again and again in as many different locations and configurations as possible.
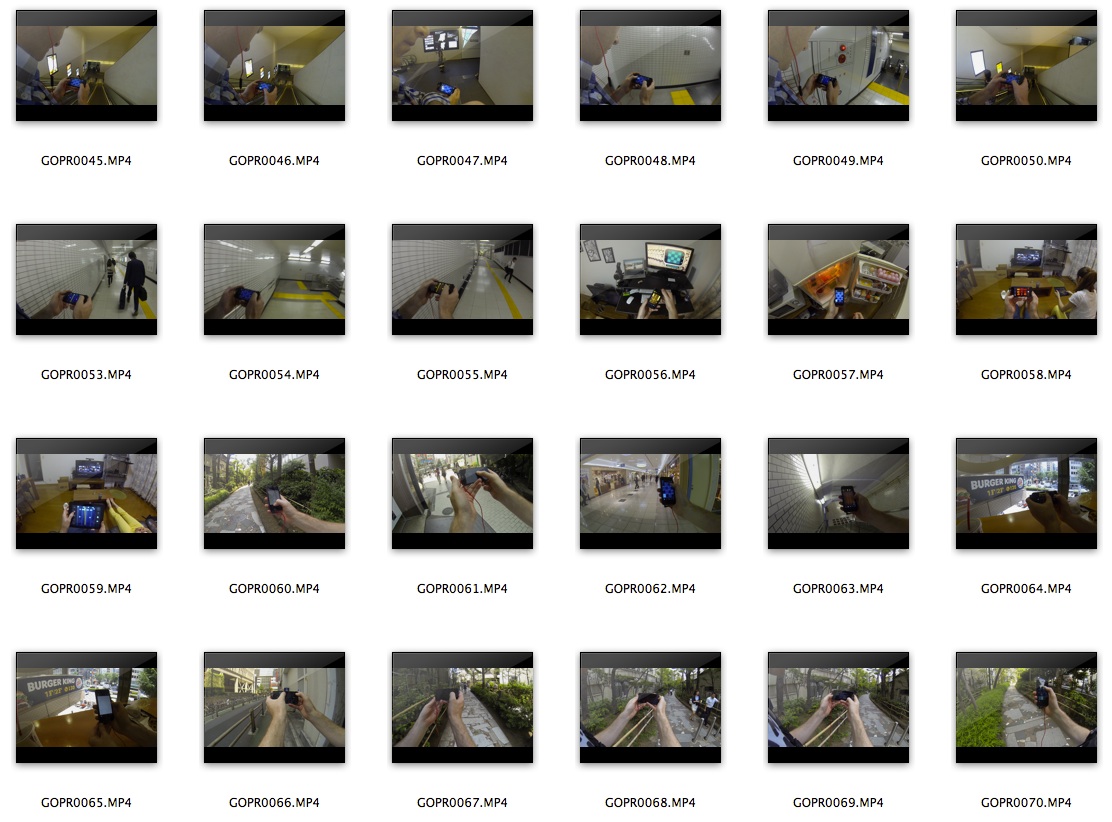 A very small sample of shots I took.
Side Benefit
Now that I was no longer doing the video in one take it gave me a lot more opportunity to show off the other customizable features of EasyBeats 3. EB3 is usable in both Portrait and Landscape, so I could show that. EB3 has custom color themes so I could jump between them. Finally EasyBeats 3 is a universal app available on iPhone, iPod and iPad so the video could now convey all of this without me needing to state it specifically.
For about 3 hours I walked the streets of Shinjuku filming the app in all the different combinations I could, all the time not knowing what footage would work and what wouldn’t. In terms of positioning the shots I decided to shoot everything in 2.7k because that would later allow me to zoom in without losing quality on my final 1080p export.
Filming all went fine but I must admit to being pretty self conscious about holding a camera on a pole while riding escalators throught the train station. Up Skirt filming is an issue here and I certainly looked suspicious.
2.7K is Awesome, just not on a Macbook Air 11"
At the time my main development machine was a late 2011 Macbook Air with an i7 and 4GB of ram. For iOS development I used it connected to an external monitor with a separate keyboard and mouse. It is perfectly capable for most anything an iOS developer could throw at it (with the exception of 3D games I assume). It has also been fine for me when using iMovie and Final Cut Pro X in 1080P situations.
2.7K video however, made it cry. Then whimper. Then die. The only way to resurrect it was a full power off and on. 2.7K video was always going to be slow, I knew that (finder previews stuttered constantly). But I constantly experienced a problem when trying to render even small sections where all memory would be consumed, followed by the swap file growing up to 90GB, filling my entire SSD, crashing the system.
Obviously something was seriously wrong and although I found the exact same problem reported in the user forums there was very little in the way of solutions. Eventually I tried completely duplicating my entire project (including GBs of video) and recreating from scratch. (My Posted solution on Apple forums)
With this problem solved and by using proxy media you can actually edit 2.7K footage reasonably on a Macbook Air 11". It’s just not fast so expect a lot of delays.
Multiple Angle Editor
Final Cut Pro X has an awesome multi angle editor for quickly mixing footage from the same event in time. Basically it automatically aligns all the shots by time stamp so you can easily switch between angles live like a set director.
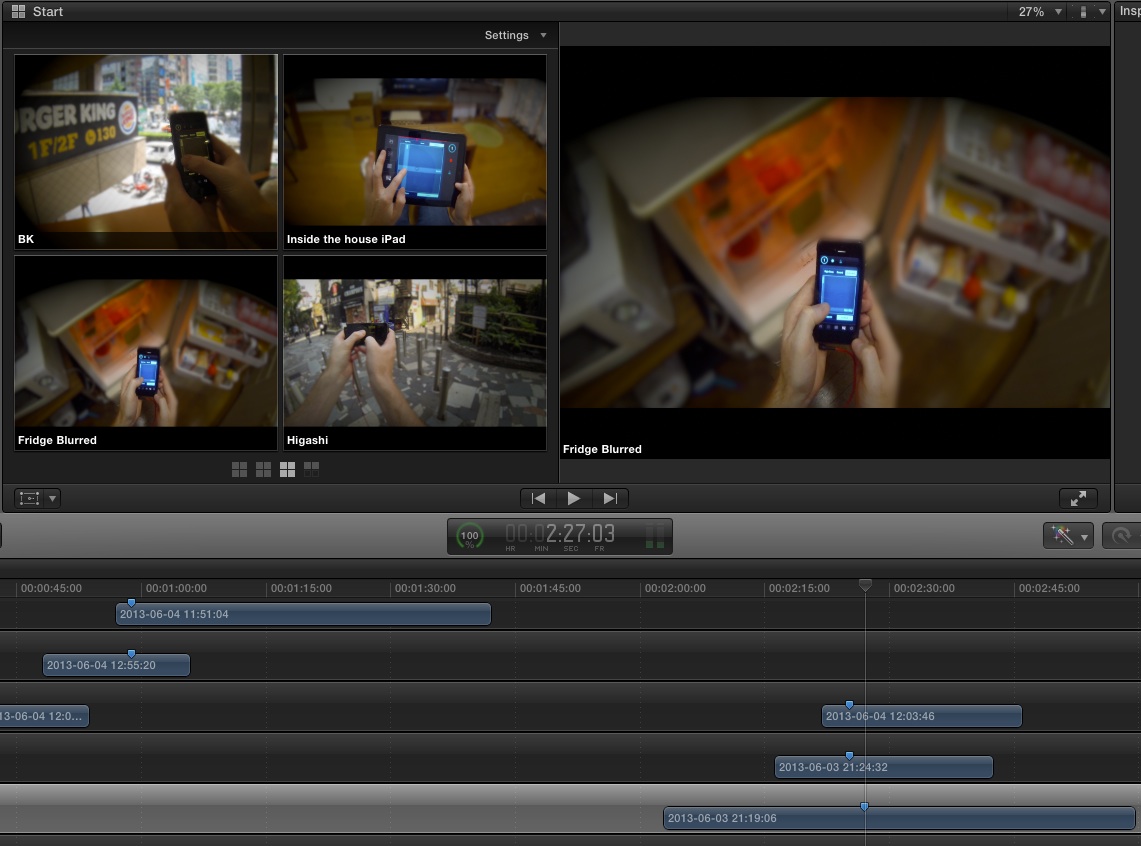
Although my footage wasn’t all of the same event, I was performing the same song so as long as I synced my footage to my master audio track I could use this. You can see from the above image that only certain parts of each take were actually usable, so the whole thing behind the scenes is pretty scattered. Click here to watch the video I used to learn multi cam editing
With this knowledge I was able to quickly cut between all the footage I had assembled according to the audio track.
Lack of Focus
Now the video was exciting, with nice cuts in time with the audio track but due to the wide angle lens of the GoPro I found my attention was often distracted away from the app.
The solution was to blur the background. I had always planned on doing this when ever peoples faces were visible (They’re pretty sensitive about that here). I used basically the technique shown here with the only difference really being that I inversed the mask. I also fortunately didn’t need tracking as most of my shots the phone stayed in the same position.
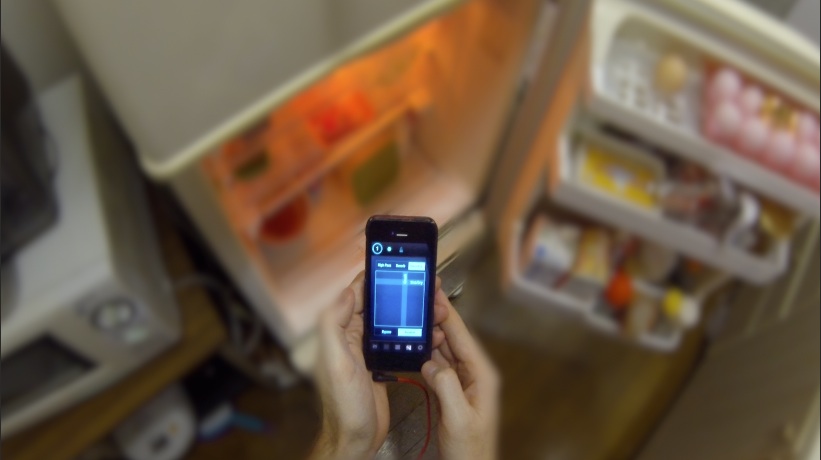 My fridge is better blurred out, believe me.
Add Titles and a vignette
I wasn’t sure if I wanted titles at all at first. I added them only at the very end and tried to keep them as sparse as possible hoping not to detract from the fact that the music the user was hearing was being made effectively live in front of them.
I added a slight vignette to make the whole thing look a little more professional. It took forever on the Macbook Air. Do this last if you are using something similar.
Quick Note on Audio
All audio in my video was recorded in one take on my iPhone with a cable jacked into my computer. I used Audacity with monitoring on (so I could hear what I was playing) to record to a wav file. Syncing any audio up to video is really easy with modern software so do it! I’ve seen a few videos that visually seem to have pretty good production values, but then the audio is hissy and terrible and really cheapens the whole thing.
Total Cost
I already had all of the below so really the only cost to me was time. It took me about 3 days in total I think but at least 50% of that was spent watching tutorial videos on youtube.
- GoPro Hero 3 Black $399
- Final Cut Pro X $299 - Though I think there is a 1 month free trial
- Monopod pole thing $20 from Amazon.jp
So thats what you would need to create exactly what I did, but you could probably get by with just the following.
Free Option
- iPhone 4S or above (I actually use this for all my tutorial videos and the results are great.)
- iMovie (I think the cutting would have been slower but all possible)
Lessons learned and final thoughts.
Wow for only my second ever blog post this has turned out way too long. Congratulations if you actually read this far.
- You can edit video 2.7K video on a Macbook Air 11" it’s just not fun.
- I should have bought the LCD Backpac for the GoPro, at $80 it would have been easily worth it.
- Don’t use too many compound clips.
- YouTube has so many free tutorials for Final Cut Pro you can become pretty damn proficient in a very short period of time.
- A good product is easy to make a good looking video for.
That last point is probably the key here. Despite being a novice with this kind of video I found it really quite easy to make the video “cool”. This is because EasyBeats 3 is a kick ass ridiculously fun application. Likewise if your app is great, the video part will be easy.